The Address bar or Name box will show the address of the active cell or selected cell in the Excel worksheet.
Other than showing the address of the cell, the name box has some other helpful features that so many don’t know about. The name box can also be used as a navigation tool in Excel.
If you’re working on a large Excel sheet, scrolling and moving around is a little tricky and sometimes we are not able to find the exact cell easily that we are looking for. Using the name box we can easily move around in a workbook and find any cell in a jiffy. Here in this tutorial, you can see how to use the Excel Name Box effectively.
Where Name box is located?
The Name box is conveniently situated below the ribbon and above the worksheet area, to the left of the formula bar. You can also adjust its width for improved visibility by hovering your mouse cursor between the Name box and the formula bar and then dragging the double-ended arrow button to the left.
Uses of the Name Box:
Displays the address of the selected cell:
As its name suggests, the Name box primarily shows the address of the currently selected cell. When you navigate to any cell, its address is promptly displayed in the Name box.
For example, selecting cell B3 would instantly reveal its address in the Name box.

Use the name box to navigate to a cell:
Using the name box, we can navigate to any cell in the worksheet and in a workbook.
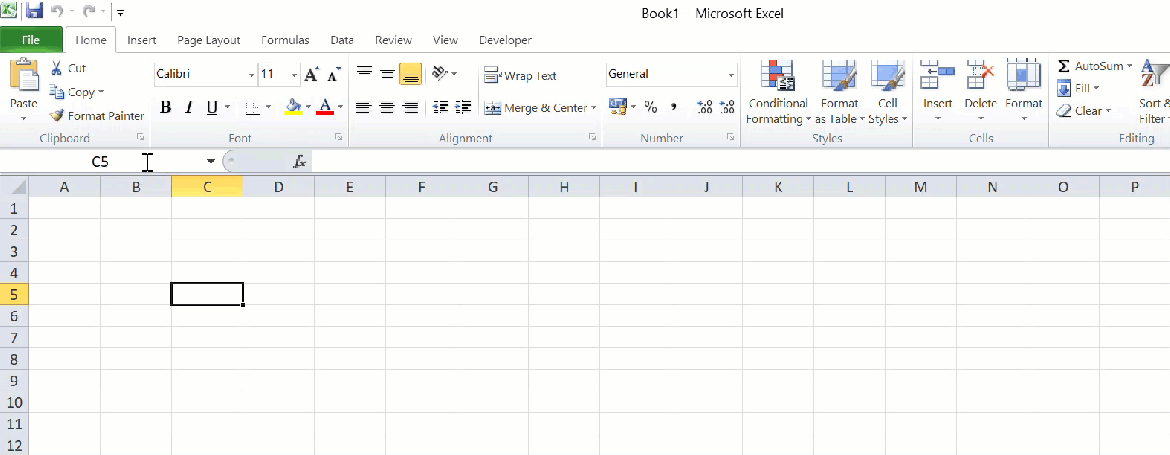
Go to, the name box and type any cell reference and hit enter. Let’s use the name box to navigate to cell C5.

In the same way, you can also navigate to any cell in the other worksheet.
To navigate to the A1 cell on sheet 3, simply type sheet3!A10 in the name box and click enter. Now the cursor will move to sheet 3 A10 cell from Sheet 1.

Using the name box, you can navigate between the workbooks. All workbooks should be open to navigate between the workbooks.
To navigate to the sheet 1 C1 cell on the Book2 workbook, simply type [book2]sheet3!c1 in the name box and hit enter.

Navigate to multiple cells:
You can select multiple cells using the name box. Go to any cell and type the other cell addresses separated by commas and hit enter.
Let’s go to cell C5 and type M5 and h9 in the name box and click enter. Now, these 3 cells will be selected.
Navigate to row or column:
To select a specific column, simply type A:A in the name box and hit enter. Here A is the column reference.
In the same way, we can select the entire row. Simply type 1:1 in the name box and hit enter. Here 1 is the row reference.

Change the address of the selected cell:
By default, the name of the cell is its address like A1, A2. Using the name box we can alter the name of a cell.
Simply select the cell, type a new name in the name box and hit enter. Now the cell name will be changed.
Let’s select cell C5 and go to the name box and enter a new name like JJ. Now hit the enter button. M5 cell name now changed to JJ.

Displays the name of the cell:
Once you’ve renamed a cell, the new name will be displayed in the Name box instead of the original cell address.
The C5 cell name has been changed to JJ. Now the C5 cell name will be displayed as JJ in the name box.

Displays the selected number of rows and columns while selecting the cells:
While selecting the range of cells, the name box will display the no of rows and columns that are being selected.

Once the selection is completed, the name box will display the first cell address in that selected range.
Give the name to the selected cell range:
The Name box allows you to assign a name to a selected range of cells. Simply select the desired cells, go to the Name box, enter a name, and press Enter.
Let’s select some cells and name them KKK.

Displays the name of the selected named range:
We have already selected a range and named the range KKK. Selecting the range will show the name of the range in the name box.
Navigate to the named range:
Typing the name of a previously defined range into the Name box and hitting Enter will automatically select that named range.
Let’s type KKK in the name box and hit enter. Now the named range cells will be selected.
Accessing common functions:
The Excel name box will automatically list the common functions in the drop-down when you enter the = sign in the cell.
From that drop-down list, we can select the function instead of typing it.
Use the name box drop-down to quickly access the named cells and ranges:
In the name box drop-down, you can see all named cells and ranges. Just click on the drop-down menu to see the list and click on the named cell or range to access it quickly.

Things to remember before renaming the cells or range:
- Don’t use space or punctuation.
- You can use _ (underscore) and \(backslash).
- Names should start with an alphabet letter or underscore.
- Excel won’t accept names consisting solely of numbers or combinations of alphabets and numbers for cell renaming.
By using the Excel Name box in various ways, you can simplify your work and be more productive. Learning these features helps you navigate and organize your Excel workbooks smoothly.
Discover more from Excellopedia
Subscribe to get the latest posts sent to your email.