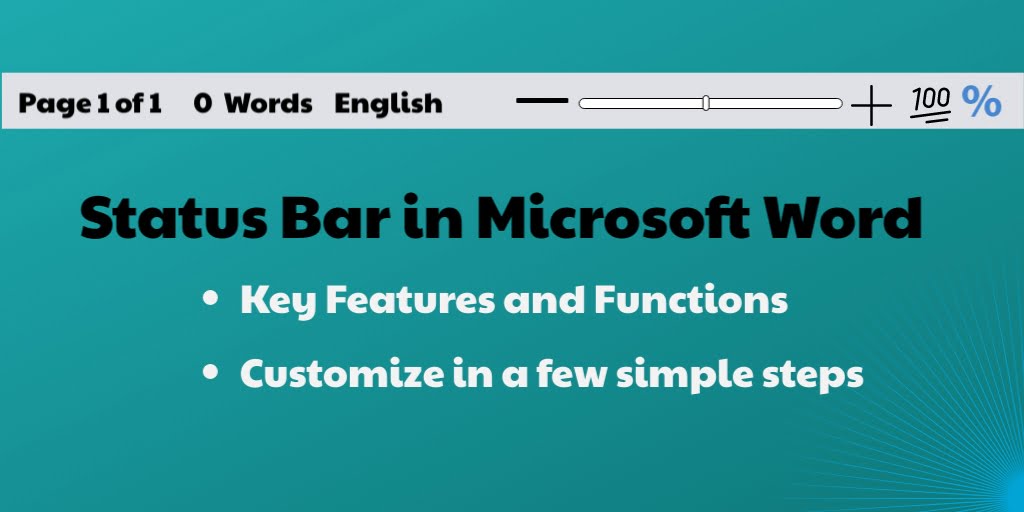
The Status Bar in Microsoft Word looks simple but it’s really useful! It’s like a personal helper giving you important info and quick access to various features. Let’s see why this small bar is a big deal and how it makes Word easier to use.
Understanding the Status Bar:
The Status Bar is like a horizontal strip that lies at the bottom of the Word window. It displays crucial information about your document and offers shortcuts to perform specific tasks quickly. This bar provides valuable insights and features that streamline your workflow.
Key Features and Functions:

Document Details: The Status Bar provides important things about your document, like which page you’re on, the total pages, how many words you’ve written, and sometimes the language. It helps you know where you are in your document and how much you’ve written.
Different Views: You can switch between Read Mode, Print Layout, and Web Layout easily. This helps you choose how you want to see your document—maybe focusing on writing, checking how it will look when printed, or seeing how it appears online.
Zoom: Adjust your document’s zoom level with a slider. This lets you zoom in or out of your document. Zoom in for a close-up or out for a wider view without going through menus.

You can also use Zoom in(+) or Zoom out (-) buttons, the document size will change by 10% each time when you click them. You can zoom from 10% to 500% to suit your needs.
Zoom Level tells you how close or far you are from your document. Click on it to pick a percentage or set your own.
Spelling and Grammar Check: The Status Bar shows you mistakes in your spelling or grammar while you’re typing, so you can fix them right away.
Macro Recording: When you’re recording a macro, the Status Bar displays a recording indicator, showing that it’s capturing your actions.
Focus Mode: Focus Mode is a bit like wearing blinders—it helps you concentrate by hiding distractions while you write. When you click on it, it clears the screen, leaving only your words for you to focus on.
Customizing the Status Bar:
Customizing the Status Bar in Word can be super helpful. It lets you choose what tools and info show up down there, making it fit your work style. Here’s a simple way to do it:

- Right-click on the Status Bar: Find an empty space on the status bar at the bottom of your Word window and give it a right-click.
- Pick What You Want: A menu pops up with all sorts of options, like word count, track changes, etc. Click on the options you want to see on the status bar. The selected options will have a checkmark beside them.
- Enjoy Your Customized Status Bar: Once you’ve chosen the options you prefer, those tools will be right there on your status bar. Easy-peasy access while you work on your document!
Understanding and using the Status Bar in Microsoft Word is key. It’s more than just a bar at the bottom—it’s your window to document insights and quick access to essential tools.
Discover more from Excellopedia
Subscribe to get the latest posts sent to your email.
