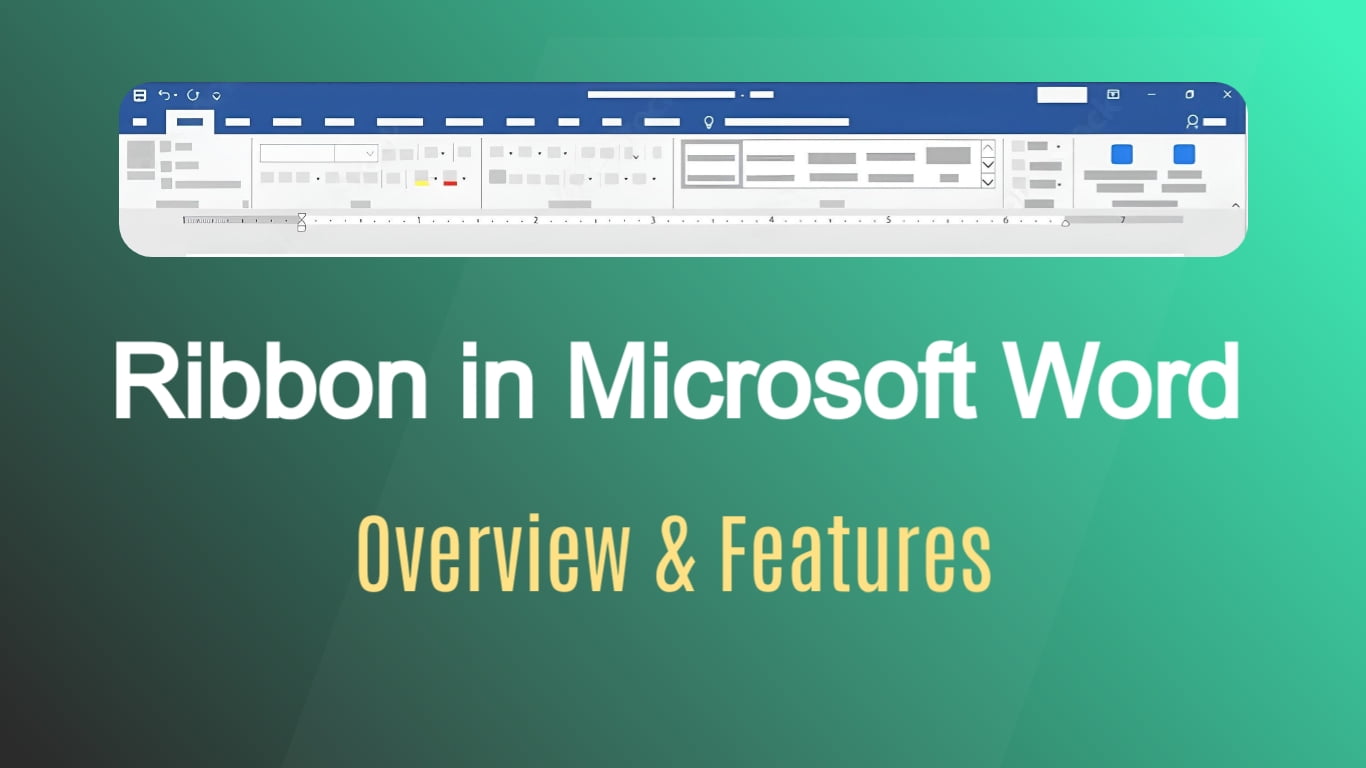
Welcome to the world of Microsoft Word! Have you ever wondered about all those buttons at the top? They’re part of something super cool called the Ribbon! It’s like a magic toolbox full of tricks to make your writing and editing way easier. In this guide, we’ll take a fun tour of the Ribbon and discover how each tab and group can make your documents look awesome. Let’s dive in and unlock the secrets of Microsoft Word together!
Understanding the Ribbon:
The Ribbon is the horizontal toolbar situated at the top of the Word window. It is divided into tabs, each representing a specific set of commands related to particular tasks or functions. Now, Let’s break down each of the main tabs on the Microsoft Word Ribbon, along with a brief explanation of the key functionalities they offer:
1. Home Tab:
The “Home” tab is your central hub for basic formatting and editing options. Here, you’ll find commands for font styles, paragraph formatting, bullets and numbering, clipboard actions (cut, copy, paste), and more. It’s your starting point for everyday document editing.
- Clipboard: Cut, copy, and paste operations.
- Font: Adjust font style, size, and color.
- Paragraph: Set line spacing, indentation, and alignment.
- Styles: Apply predefined styles to text.
- Editing: Find, replace, and select text.
2. Insert Tab:
The “Insert” tab is where you go to add various elements to your document. This includes tables, pictures, shapes, charts, headers, footers, page numbers, and more. Essentially, it’s the toolbox for enhancing your document with additional content.
- Pages: Add cover pages, blank pages, or page breaks.
- Tables: Insert tables and customize their design.
- Illustrations: Add pictures, shapes, and charts.
- Links: Insert hyperlinks.
- Header & Footer: Add headers and footers.
3. Draw Tab:
The Draw tab in Microsoft Word is like a playground for showing off your artistic side. Whether you love drawing or just want to add a personal touch to your documents, this tab is where you can let your creativity flow.
- Drawing Tools: Your Brush Kit
- Pens: Draw freeform lines or highlight text with different colors.
- Highlighter: Emphasize key points and make them pop.
- Eraser: Correct mistakes or remove any artistic errors.
- Stencils: Create perfectly shaped elements like precise lines, arrows, rectangles, etc with the ruler.
- Convert: Convert your hand-drawn sketches into editable shapes or text.
- Lasso Select: Draw around objects to select and move them.
4. Design Tab:
The Design tab is your gateway to turning a document into a visually appealing masterpiece. It offers a variety of design options to enhance the overall aesthetics.
- Document Formatting: Customize colors, fonts, and effects.
- Themes: Apply pre-designed themes.
- Page background: Change page color, add watermarks, and apply page borders.
5. Layout Tab:
As the name suggests, the “Page Layout” tab is all about how your document looks on the page. It includes commands for setting margins, orientation, size, and columns. This tab is crucial for customizing the overall layout and appearance of your document.
- Page Setup: Adjust margins, orientation, and size.
- Paragraph: Set spacing, indentation, and alignment.
- Arrange: Position and align objects on the page.
6. References Tab:
If you’re working on academic or research documents, the “References” tab is invaluable. It contains tools for adding citations, managing bibliographies, inserting a table of contents, footnotes, and endnotes. It’s your go-to for maintaining scholarly integrity in your work.
- Table of Contents: Insert a table of contents.
- Footnotes: Add footnotes to your document.
- Citations & Bibliography: Manage citations.
- Captions: Add captions to figures and tables.
7. Mailings Tab:
The “Mailings” tab is designed for handling mail merge operations, making it easier to create personalized documents for a large audience. You can use this tab to create envelopes, labels, and to perform mail merges for emails or letters.
- Start Mail Merge: Initiate mail merge.
- Write & Insert Fields: Customize document content.
- Preview Results: Review mail merge results.
- Finish: Complete the mail merge process.
8. Review Tab:
For collaboration and proofreading, the “Review” tab is indispensable. It includes tools for spell-checking, tracking changes, adding comments, comparing documents, and protecting your document with various security measures.
- Proofing: Spell check and language tools.
- Comments: Add and manage comments.
- Tracking: Track changes and manage versions.
- Protect: Secure your document.
- Compare: Analyze the distinctions between the two versions.
- Language: Customize language settings for a personalized experience.
- Accessibility: Identify and address potential accessibility issues.
9. View Tab:
The “View” tab provides different ways to view your document. It includes options for adjusting the zoom level, switching between print layout and web layout, and accessing features like the Navigation Pane and the Document Views.
- Document Views: Switch between layout views.
- Show: Display or hide specific elements.
- Zoom: Adjust the zoom level.
- Window: Manage multiple document windows.
- Macros: Create your own macros or See available macros in your document.
10. Developer Tab:
The “Developer” tab is not visible by default and needs to be activated through Word’s options. It is geared towards users who create or work with macros, forms, and other advanced features. It provides tools for coding and customizing Word to meet specific needs.
- Code: Access the Visual Basic for Applications (VBA) editor.
- Add-ins: Manage document add-ins.
- Controls: Insert form controls.
These tabs collectively form the Ribbon, offering a comprehensive set of tools for creating, formatting, and editing documents in Microsoft Word.
Discover more from Excellopedia
Subscribe to get the latest posts sent to your email.
